

Key Takeaways
A gearbox filter replacement is a small service task with a large effect on oil cleanliness, component protection, and reliable operation. The safest approach follows the gearbox maker’s instructions and treats the oil, filter, seals, and surrounding work area as one system.
- Replace the filter at the interval specified for the gearbox and its operating conditions.
- Investigate noise, pressure changes, leaks, overheating, or shifting problems before fitting a new filter.
- Use the exact filter, oil specification, seals, torque values, and filling procedure required.
- Keep drained oil and exposed components protected from dust, water, and loose debris.
- Check oil level, leaks, pressure, and operating behavior after the service.
Understanding the gearbox filter and its role
A gearbox filter sits within the oil circuit and helps keep suspended contamination from circulating through working components. Its precise location and construction vary with the gearbox design, so a general visual description is never a substitute for the service drawing. The filter should be viewed as part of the lubrication and control system, not as an isolated consumable.
What the filter removes from gearbox oil
Gearbox oil can collect dust, wear particles, seal material, and residue created as the assembly operates. The filter captures particles within its rated range while oil continues toward lubricated or hydraulically controlled parts. A magnetic element, where fitted, may collect ferrous particles separately, but it does not replace the filter itself.
The amount and type of debris matter. A light coating may be normal for a working assembly, while glitter-like metal, chips, or unusual sludge deserves investigation before the gearbox is returned to service.
How filtration protects gears, bearings, and valves
Clean oil reduces the amount of abrasive material passing between gear teeth and bearing surfaces. In gearboxes that use oil pressure for lubrication, clutch control, braking, or shifting functions, restricted flow can also affect valves and passages. Clean oil supports predictable operation because it allows the designed flow path and clearances to do their work.
Filtration cannot correct incorrect oil viscosity, excessive loading, misalignment, or worn parts. It is one layer of protection, and its condition should be considered alongside temperature, oil level, seals, and the gearbox’s mechanical condition.
Different filter designs and gearbox applications
Some gearboxes use replaceable cartridges in a housing, while others use screens, suction strainers, pressure filters, or filters integrated into a pan or cover. Heavy industrial units may have external filter assemblies, whereas compact gearboxes can place the filter behind a service plate. The correct design depends on the oil circuit and the manufacturer’s parts specification.
Before ordering, compare the part number, dimensions, sealing arrangement, filtration rating, and bypass features with the service documentation. A filter that appears similar can still have the wrong flow direction or fitment.
Why filter condition affects performance and service life
As a filter loads with debris, its resistance to oil flow can rise. Depending on the design, that may reduce available flow, open a bypass, increase pressure drop, or make the oil circuit behave differently from its intended condition. The result may be heat, noise, unstable control, or accelerated wear rather than an obvious filter failure.
Routine inspection is useful because the filter often reveals information about the gearbox. Its debris can point toward normal wear, seal deterioration, water entry, or a developing internal fault.
Knowing when gearbox filter replacement is needed
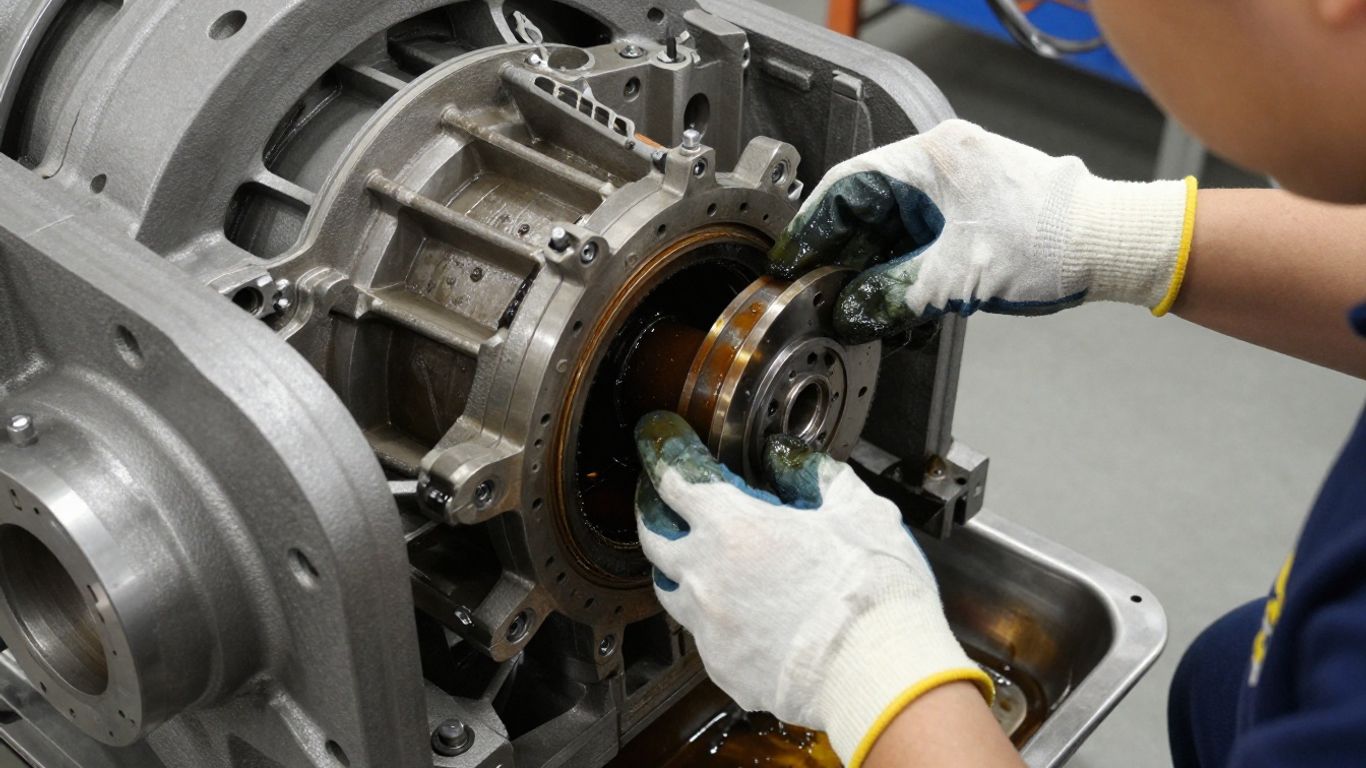
Replacement timing should come from the gearbox manufacturer first, then be adjusted when documented operating conditions demand closer attention. A filter change is often paired with an oil change, but the two decisions are not identical in every installation. The service record, oil condition, operating symptoms, and inspection findings should all inform the decision.
Manufacturer-recommended service intervals
Find the interval in the maintenance schedule for the exact gearbox model, oil type, duty cycle, and installation. Some schedules use operating hours, calendar time, oil condition, or a combination of these measures. If the unit has been rebuilt, modified, stored for a long period, or exposed to contamination, confirm whether the normal schedule still applies.
Do not extend an interval simply because the gearbox appears quiet. A filter can accumulate material before symptoms become noticeable, and a quiet machine may still have oil that no longer meets its intended condition.
Warning signs of a restricted or damaged filter
A restricted filter can be associated with unusual pressure readings, temperature rise, delayed response, abnormal noise, or visible oil leakage around a housing or seal. These signs are not proof that the filter is at fault; they can also indicate low oil, a failing bearing, blocked passages, or internal damage. A useful overview of related symptoms is available in this transmission filter warning guide, although the exact diagnosis still depends on the gearbox.
Stop and investigate when a filter is collapsed, torn, heavily distorted, or coated with unexpected debris. Continuing to operate while treating a symptom as a routine service issue can turn a contained repair into a larger failure.
How operating conditions change replacement timing
High temperatures, frequent starts and stops, shock loading, dusty surroundings, moisture, and heavy loads can place more demand on the oil and filtration system. A gearbox exposed to washdown or poor breather performance may also face water or dirt ingress. These conditions may justify inspection sooner than the standard calendar suggests.
Use actual operating information rather than guesswork. Temperature logs, hours, load patterns, and contamination events provide a better basis for changing the service plan than a vague sense that the unit is working hard.
When oil analysis can confirm filter problems
Oil analysis can identify abnormal particle levels, water, viscosity change, oxidation, or other evidence of a developing problem. It cannot always identify a blocked filter directly, but it can support a diagnosis when paired with pressure readings, filter inspection, and operating history. Sampling should be done consistently so that results can be compared over time.
If an analysis shows a sudden change, preserve the filter and drained oil when practical. The debris pattern may help distinguish ordinary loading from a component that is actively shedding material.
Preparing for a safe filter replacement
Preparation prevents many service errors before the first fastener is removed. Confirm the gearbox identity, obtain the correct parts, and plan how oil will be drained, stored, filtered, and disposed of. A clean setup also protects the replacement filter from contamination while it is waiting to be installed.
Choosing the correct filter and replacement parts
Match the filter to the exact gearbox model and revision, not merely to the machine’s general description. Check whether the service kit includes a gasket, O-ring, retaining hardware, magnetic plug seal, or cover seal. Compare the old part only as a secondary check because an incorrectly installed earlier part may not be the correct reference.
Part numbers should be verified against the manufacturer’s documentation or an authorized parts source. For vehicle transmission applications, a replacement filter cartridge page can help illustrate why fitment details matter, but industrial gearbox parts should still be selected from their own service data.
Selecting the right gearbox oil and sealing materials
Use the specified viscosity, performance level, additive type, and compatibility requirements. Do not mix oils unless the manufacturer explicitly permits it. The same caution applies to sealants: an RTV or thread compound can dissolve, shed particles, block a passage, or interfere with a precisely machined joint.
Inspect new seals for damage and lubricate O-rings only with a compatible fluid or assembly lubricant. A dry, twisted, or pinched seal can leak immediately after an otherwise correct installation.
Tools, lifting equipment, and workplace safety
The work area should provide stable access, adequate lighting, spill control, and enough room to handle a hot or heavy component. Use rated lifting equipment for covers, pans, or external filter housings rather than supporting them by hand. Isolate electrical and mechanical energy according to the site procedure before opening the oil circuit.
Have these basic service items ready before draining begins:
- A clean drain pan with enough capacity for the gearbox oil.
- Correct sockets, torque tools, and filter-removal tools.
- Lint-free wipes, plugs, caps, and clean containers for exposed openings.
- New seals, approved oil, and a means of measuring the final level.
This preparation reduces the temptation to improvise once the gearbox is open. It also makes it easier to keep removed parts in order for inspection.
Checking service instructions and fluid specifications
Read the procedure for drain temperature, access points, filter orientation, fastener sequence, torque values, oil level, and any required priming or bleeding. Some gearboxes must be checked stationary, while others require operation at a specified temperature or speed. Treat those instructions as part of the repair, not as optional finishing details.
Record the filter part number and oil specification before starting. If the instructions conflict with a general workshop habit, the gearbox-specific procedure should control.
How to replace a gearbox filter
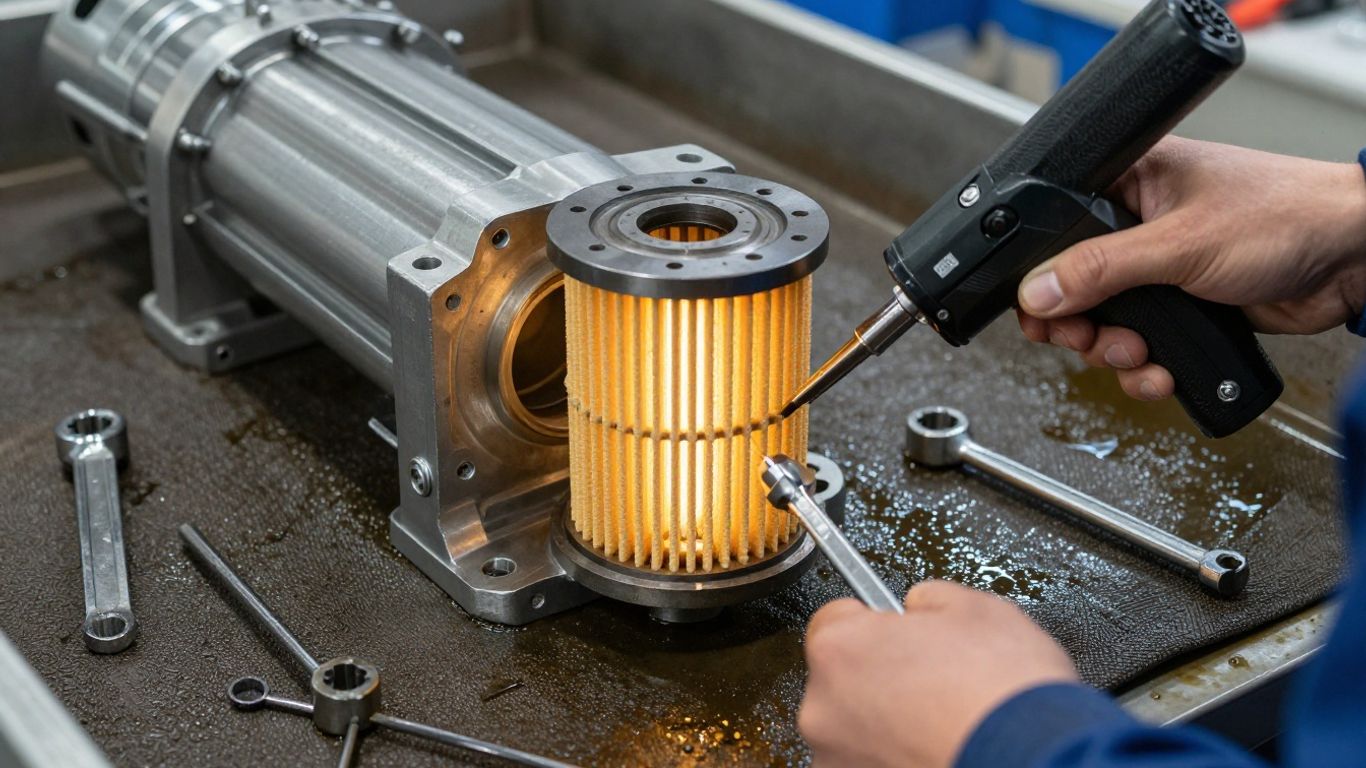
The replacement itself is straightforward when the gearbox is correctly identified and the work is kept clean. Work methodically, taking photographs or notes before removing parts whose orientation may not be obvious. Never rush the open stage: contamination introduced during service can undermine the new filter immediately.
Draining the oil and controlling contamination
Follow the specified oil temperature and drain procedure, taking care because warm oil can cause serious burns. Place the drain container before loosening the plug or cover, and allow sufficient time for oil to leave pockets in the housing. Keep the drain plug, opening, and nearby surfaces free from dust and washdown water.
Cover the container when it is not being inspected. If the oil will be reused, use a clean, approved container and a documented filtration method; otherwise, dispose of it according to local requirements. Do not leave an open gearbox unattended.
Removing the old filter without damaging components
Remove the cover or housing evenly, supporting it if it is heavy. Note the position of springs, spacers, magnets, valves, and seals before they are disturbed. Pull the old filter straight where the design allows, and use the specified tool rather than gripping a delicate housing with excessive force.
If the filter is stuck, stop to identify what is retaining it. Prying against a machined sealing face or levering on a thin cover can create a permanent leak path.
Inspecting the housing, magnets, and sealing surfaces
Clean the housing with an approved method and inspect it under good light. Look for scoring, cracks, blocked passages, damaged threads, distorted covers, and seal fragments. Examine magnets for the character and quantity of collected material rather than wiping them clean without recording what was present.
A simple inspection record can help separate routine service debris from a new mechanical problem. If the findings are abnormal, resolve the cause before installing the replacement filter.
Installing the new filter and securing the assembly
Compare the new filter with the removed part and confirm its direction, seating, and retaining features. Fit new seals in clean grooves, ensuring they are neither twisted nor trapped. Install the cover or housing without forcing it, then tighten fasteners in the specified sequence and to the specified torque.
Avoid applying sealant where the procedure does not call for it. Once secured, wipe the assembly clean so that any later leak can be located accurately.
Refilling and checking the gearbox after service
Refilling is part of the repair, not merely a final top-up. The wrong level can produce aeration, heat, leakage, or insufficient lubrication, while an incorrect oil can affect friction materials, seals, and valves. Use the gearbox’s stated measurement conditions and take time to verify the result.
Using the correct oil level and filling procedure
Add the specified oil through the correct port using clean equipment. Measure the level under the temperature, position, and operating conditions stated in the service instructions. A level plug, dipstick, sight glass, or measured fill quantity may each require a different procedure.
Do not assume that the drained quantity equals the required refill quantity. Some oil remains in galleries, coolers, housings, or attached equipment, and the filter change may alter the amount needed.
Bleeding air from systems that require it
If the oil circuit includes a pump, cooler, hydraulic control section, or elevated filter housing, air may need to be removed before normal operation. Follow the specified priming, cranking, cycling, or venting method and keep the reservoir from running low during the process.
Air can create foaming, erratic pressure, and misleading level readings. Wait for the oil to settle when instructed, then recheck the level rather than correcting a temporary reading with an unnecessary overfill.
Checking for leaks, pressure issues, and abnormal noise
Inspect the filter housing, cover joint, drain plug, fill point, and nearby connections while the gearbox is stationary and again during controlled operation. Look for seepage rather than relying only on a visible drip. If pressure or temperature gauges are fitted, compare readings with the documented normal range.
Stop the test if noise, vibration, heat, or pressure behavior changes sharply. A new filter does not make abnormal symptoms acceptable, and forcing operation can enlarge an existing fault.
Confirming proper operation during a test run
Run the gearbox through the prescribed sequence, beginning with a cautious no-load or low-load check when the equipment allows it. Confirm smooth engagement, stable temperature, expected pressure, and the absence of fresh leaks. Recheck the oil level after the unit reaches the required condition.
A test run should produce evidence, not just reassurance. Record the observations and compare them with the baseline so that a small change is visible at the next inspection.
Avoiding common gearbox filter replacement mistakes
Most poor results come from preventable details: an incorrect part, a dirty opening, a damaged seal, or a missed inspection finding. A careful technician treats each detail as connected to the next one. The goal is not only to install a filter, but to return a clean and correctly filled oil circuit to service.
Installing the wrong filter or incompatible seal
A filter can fit physically and still have the wrong media, bypass setting, flow direction, or sealing arrangement. Verify the part number and application before opening the package. Seals must also match the oil, temperature, groove, and cover design.
If the parts do not match the drawing or the old assembly, pause. Forcing an uncertain part into place is faster than ordering the correct one only until the first leak or pressure problem appears.
Overlooking contaminated oil and internal damage
Replacing the filter while returning heavily degraded or contaminated oil defeats much of the service. Inspect the drained oil, filter media, magnets, and housing for signs of water, chips, sludge, or unusual wear. The filter is a diagnostic clue as well as a maintenance item.
When contamination points to internal damage, a filter change alone may provide only temporary relief. Escalate the inspection according to the gearbox maker’s repair procedure.
Over-tightening fasteners and filter housings
Excess torque can distort a cover, crush an O-ring, strip threads, or create an uneven joint. Insufficient torque can allow movement and leakage. Use a calibrated torque tool and follow the stated sequence rather than relying on feel.
Clean threads and correct fastener condition matter too. Do not add thread locker, washers, or sealant unless the procedure specifies them.
Skipping documentation and follow-up inspections
Record the date, operating hours, filter and oil part numbers, quantity added, debris findings, measured level, and any abnormal observations. A short note about the test run gives the next technician a useful baseline. It also helps identify whether replacement intervals are suitable for the actual duty cycle.
Schedule a follow-up leak and level check when the equipment has completed its initial operating period. Small seepage is easier to correct before dirt builds around the joint or the oil level falls.
Conclusion
A gearbox filter replacement is safest when it is planned from the correct service information, performed in a clean and controlled workspace, and followed by careful refilling and testing. The filter, oil, seals, housing, and inspection findings belong to the same maintenance decision, so a thorough service can protect both immediate operation and future diagnosis.
Frequently Asked Questions
How often should a gearbox filter be replaced?
Use the interval specified by the gearbox manufacturer, measured by operating hours, calendar time, oil condition, or the combination stated in the maintenance schedule. Severe heat, dust, moisture, or loading may require earlier inspection.
Should the oil be changed whenever the filter is replaced?
Often the two services are performed together, but the correct choice depends on the gearbox procedure and oil condition. Follow the specified drain, refill, and reuse requirements rather than assuming one universal rule.
What are common signs of a restricted gearbox filter?
Possible signs include abnormal pressure, rising temperature, unusual noise, delayed response, unstable operation, or leakage near the filter housing. These symptoms can have other causes, so diagnosis should include oil level and mechanical inspection.
Can a gearbox filter be cleaned instead of replaced?
Only if the manufacturer specifically approves cleaning for that filter design. Disposable media, damaged screens, and filters with uncertain condition should not be returned to service simply because they appear washable.
What oil should be used after filter service?
Use the viscosity, performance level, additive type, and compatibility specification stated for the gearbox. The oil must also be suitable for the seals and any connected hydraulic or control components.
Why should the old filter be inspected?
Its debris can reveal normal loading, water entry, seal deterioration, or active gear and bearing wear. Recording what is found can help determine whether a routine service is enough or whether further diagnosis is needed.
What should be checked after the gearbox is refilled?
Verify the level under the specified conditions, inspect for leaks, check pressure and temperature where applicable, listen for abnormal noise, and complete a controlled test run. Document the results for future comparison.