Key Takeaways
A second hand automatic transmission can be a sensible repair, but only when the part matches the vehicle and its condition is documented. The cheapest unit is rarely the cheapest complete repair.
- Match the transmission by vehicle details, transmission code, and drivetrain configuration.
- Treat mileage, donor history, fluid condition, and storage as buying evidence.
- Compare the full installed cost with rebuilt and remanufactured alternatives.
- Prepare the cooler, seals, filter, fluid, electronics, and related components before installation.
- Protect the replacement with careful testing, accurate fluid setup, and warranty compliance.
Understanding second hand automatic transmissions
Second hand automatic transmissions come from vehicles that have already been operated, so their value depends on more than the asking price. A careful buyer needs to understand how the unit was removed, stored, inspected, and matched to the intended vehicle. The terms used in listings can also describe very different levels of work. Start by clarifying exactly what is being sold before comparing prices.
What “second hand” means in the transmission market
In ordinary usage, “second hand” means a previously used transmission removed from another vehicle. It may be sold as a complete assembly, sometimes with accessories attached and sometimes without a torque converter or sensors. The phrase does not, by itself, promise that the unit has been rebuilt, tested under load, or prepared for immediate installation.
Ask whether the transmission is being sold as removed, inspected, or tested. A seller should be able to explain its source and identify anything missing from the assembly. That basic distinction prevents a low headline price from turning into a parts-hunting exercise.
Used, rebuilt, remanufactured, and refurbished differences
A used transmission generally retains its original internal components and has been removed from a donor vehicle. A rebuilt unit has been disassembled and repaired with selected replacement parts, while a remanufactured transmission is typically restored to a defined standard using more extensive inspection and replacement procedures. “Refurbished” is less consistent and should be defined by the individual seller.
The labels matter because they affect risk, price, and warranty expectations. Read the parts and labor coverage rather than assuming that a particular word guarantees a specific process. A Transmission Assemblies catalog can also help clarify whether a listing is for a complete transmission or a broader assembly category.
Why automatic transmissions fail
Automatic transmissions can fail through wear in clutches, bearings, bushings, gears, valve bodies, solenoids, and seals. Heat, contaminated fluid, neglected maintenance, towing loads, poor cooling, and impact damage can all shorten service life. A failure in another drivetrain component can sometimes look like a transmission problem, so diagnosis should come before ordering a replacement.
The donor vehicle’s use matters as well. Heavy towing, repeated stop-and-go driving, harsh shifts, and water exposure may leave clues that are not obvious from mileage alone. This is why a transmission with a modest odometer reading is not automatically a safer purchase than one with a higher but well-documented history.
When a used transmission makes financial sense
A used unit often makes financial sense when the vehicle is otherwise sound, the exact match is available, and installation costs are reasonable. It can be especially practical for an older vehicle whose market value does not justify a comprehensive remanufactured replacement. The decision becomes less attractive when the donor history is unknown or when the labor would be wasted if the unit fails quickly.
Compare risk as well as price. The complete repair cost includes shipping, fluid, seals, cooler service, programming, labor, and the inconvenience of a possible second removal. A transmission inspection guide covering mileage, donor use, and visual checks can be useful before committing to a purchase.
Matching the transmission to your vehicle
Compatibility is the first hard checkpoint. Two vehicles that share a badge or engine family may still use different transmissions because of model year, drivetrain, software, axle ratio, or body configuration. Confirm the application from more than one source, and do not rely on a photograph that merely looks similar.
Identifying the correct make, model, year, and engine
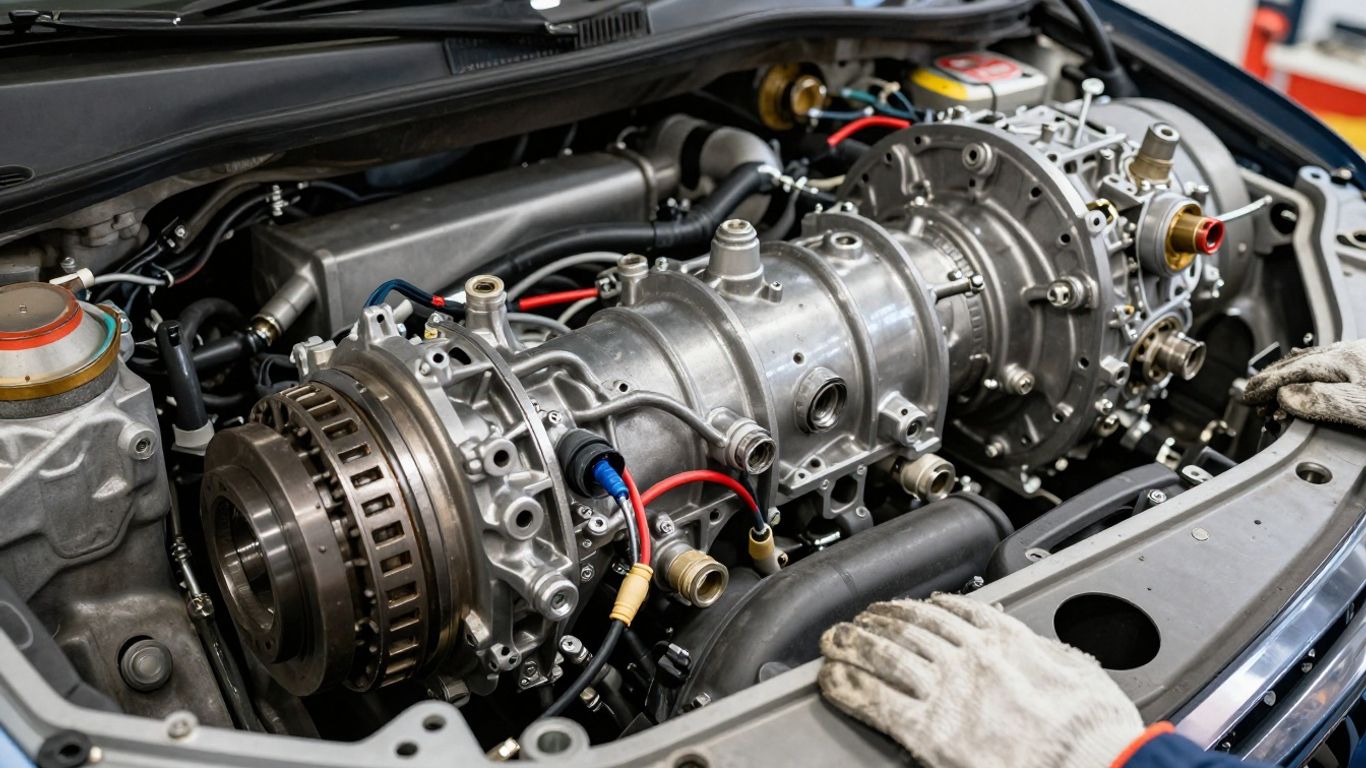
Record the vehicle’s exact make, model, year, engine size, fuel type, body style, and drivetrain. Note whether it is front-wheel drive, rear-wheel drive, or four-wheel drive, and check whether the vehicle has a special towing, performance, or commercial package. Small differences can change the bellhousing, mounts, wiring, or calibration.
The original transmission’s configuration is often more useful than a broad vehicle description. Photograph the identification tag and compare the connector layout, cooler fittings, output arrangement, and mounting points. A seller who asks for these details is usually taking compatibility more seriously than one who offers a universal answer.
Using transmission codes and vehicle identification numbers
Transmission codes provide a more precise starting point than “automatic transmission for a 2018 model.” The code may appear on a stamped case, identification plate, service record, or parts documentation. The vehicle identification number can then confirm the factory application and help distinguish options that share an engine.
Provide the full VIN to the seller, but still verify the result yourself. A lookup is a screening tool, not a substitute for comparing the physical unit and the vehicle’s build information. Keep copies of the listing, code, VIN confirmation, and written compatibility statement in case a return becomes necessary.
Checking compatibility with the drivetrain and electronics
Mechanical fit is only one part of the match. The transmission must communicate with the vehicle’s control modules, sensors, solenoids, shifter, and wiring harness. Differences in software or calibration can produce warning lights, delayed engagement, incorrect shift points, or a vehicle that will not operate normally after installation.
Check whether programming, relearning, or an adaptation procedure is required. Also verify the transfer case interface on four-wheel-drive vehicles and confirm that the axle and final-drive arrangement is appropriate. A component that bolts in but cannot be correctly controlled is not a successful replacement.
Confirming torque converter and transfer case requirements
Find out whether the unit includes a torque converter and whether that converter belongs with the specific transmission and engine combination. Converter bolt patterns, pilot dimensions, spline counts, and stall characteristics can vary. Reusing the wrong converter may cause vibration, poor engagement, or immediate damage.
Four-wheel-drive applications require an additional check of the transfer case, output shaft, adapter, and mounting arrangement. Ask for a complete parts list before purchase. If the seller is supplying only the transmission, price the missing converter and related hardware before deciding that the deal is economical.
Inspecting a transmission before purchase
A transmission cannot be fully judged from a clean casing or a persuasive listing. Inspection is about collecting clues and identifying unanswered questions. If an internal problem cannot be checked before purchase, the warranty and return terms become much more important.
Warning signs of internal wear or damage
Look for cracked or heavily dented casing sections, damaged mounting ears, broken connectors, stripped threads, and signs of impact. Burnt-smelling fluid, excessive metal debris, or dark sludge can suggest overheating or internal wear, although fluid appearance alone cannot diagnose every fault. Rust around openings may indicate poor storage or water exposure.
Be cautious when the seller cannot provide a donor vehicle, mileage estimate, or reason for removal. A transmission described only as “untested” should be priced and warranted accordingly. Do not confuse surface cleaning with evidence that the internal components are healthy.
Checking the fluid, casing, seals, and mounting points
Inspect the drain area, pan, cooler ports, input and output seals, electrical connectors, and shift linkage points. The casing should not show unexplained cracks or repairs, and mounting points should be complete rather than welded or visibly distorted. Check that protective caps were used during storage and that openings were not left exposed to dirt.
Ask how the fluid was drained and whether the pan was removed for inspection. If photographs are supplied, request close views rather than relying on a single product image. The goal is not to certify an unseen unit; it is to reduce the number of expensive unknowns.
Reviewing mileage, maintenance, and donor vehicle history
Mileage is useful only when connected to a credible donor history. A vehicle used for long highway trips may have experienced different wear from one used for delivery work, towing, or short urban journeys. Service records, accident information, fleet use, and the reason for dismantling all add context.
A practical inspection checklist should include the donor VIN when available, recorded mileage, fluid service history, storage conditions, and any test results. The used transmission inspection guide is a helpful reference for organizing those checks before contacting a seller. Treat missing information as uncertainty, not as proof of a good or bad unit.
Questions to ask the seller about testing and storage
Ask whether the transmission was tested in the donor vehicle, pressure-tested, inspected internally, or simply removed and stored. Clarify how long it has been in storage, whether openings were sealed, and whether the fluid was drained. Request the exact mileage source and any photographs of the identification tag.
A seller should also state what is included, what is excluded, and what happens if the unit arrives damaged or proves incompatible. B&R describes professional compression testing and visual inspection for its used engines and motors, with findings recorded for customer review; that kind of documented inspection practice illustrates the level of detail buyers should seek, while the specific procedure for a transmission must be confirmed separately.
Choosing a reliable source
The seller is part of the replacement decision. A transparent business may cost a little more while saving time through better records, packaging, compatibility assistance, and clear remedies. Private sales can work, but they place more responsibility on the buyer to verify condition and arrange protection.
Comparing salvage yards, specialist dealers, and private sellers
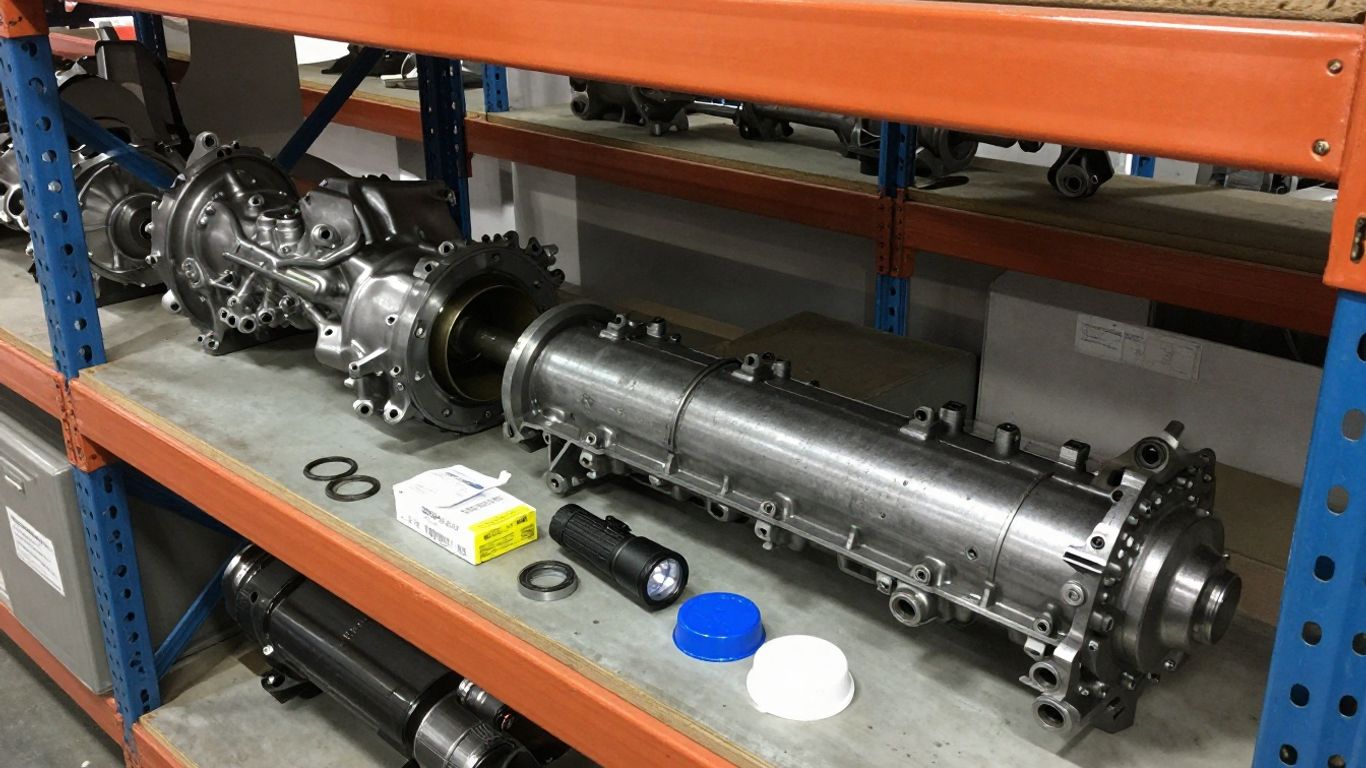
Salvage yards may offer broad inventory and donor information, while specialist dealers often provide more application support and defined warranty terms. Private sellers sometimes offer attractive prices but may have limited testing records or no practical return process. Compare the seller’s evidence, not just the category printed above the listing.
Consider how each source handles damaged freight, wrong applications, and failed units. A specialist with a written process can be easier to deal with than a cheaper seller who communicates only through a brief classified advertisement. The right source is the one that makes the transaction verifiable.
Evaluating seller reviews, inventory details, and business policies
Read reviews for patterns involving packaging, communication, accuracy, and warranty handling. Inventory details should identify the transmission code, donor vehicle, mileage, included parts, and known defects. Generic photographs and vague compatibility language deserve additional questions.
Keep the transaction documents together, including the listing, messages, invoice, shipping record, and warranty. Even a strong reputation does not remove the need to verify the individual unit. For broader research, Car Part Planet states that its team can use VIN or vehicle details to help identify a fit and that its used transmissions receive a visual inspection; confirm the current terms directly before relying on them.
Understanding mileage claims and vehicle history reports
A mileage claim should have a source, such as a donor odometer record, dismantler inventory record, or vehicle history report. Reports can reveal accidents, title events, fleet service, and inconsistencies, but they may not record every maintenance event. Use them as one layer of evidence alongside the seller’s inspection notes.
When mileage cannot be verified, assume the uncertainty affects value. It is reasonable to ask whether the transmission was removed from a running vehicle and whether the donor’s failure was related to the transmission. A clear answer may not guarantee performance, but an evasive one changes the risk calculation.
Verifying warranty, return, and core-charge terms
Read the warranty before paying. Check its duration, mileage limit, covered parts, labor exclusions, shipping responsibilities, claim procedure, and requirements for installation by a qualified shop. Determine whether the buyer must flush the cooler, replace a filter, or submit diagnostic records to preserve coverage.
Also clarify the return window, restocking fee, damage-reporting deadline, and core charge. Tagore Auto Parts advertises nationwide shipping, support, and returns for its used and remanufactured parts; those are seller-specific statements, so confirm the exact transmission policy and current conditions for your order.
Calculating the true replacement cost
The purchase price is only the first line in the estimate. Installation can expose worn seals, contaminated cooler lines, damaged mounts, electrical faults, or a torque converter that should not be reused. Build the estimate before ordering so that an apparently inexpensive unit can be compared fairly with alternatives.
Comparing purchase price with rebuilt and remanufactured options
A used transmission usually has a lower upfront cost but a wider range of possible remaining life. Rebuilt and remanufactured units generally cost more because inspection and replacement work has already been performed, though the exact process varies by supplier. Compare warranty length and coverage alongside the price.
For an older vehicle, a used unit may be the sensible match between value and service life. For a vehicle that must remain dependable for years, the additional cost of a more comprehensively prepared unit may be easier to justify. The decision depends on vehicle condition, annual mileage, and the cost of another installation.
Estimating labor, fluids, filters, and replacement parts
Ask the installer for a written labor estimate and list every part likely to be replaced during the job. Include fluid, filter, pan gasket, axle seals, input seal, cooler fittings, fasteners, and any one-time-use hardware. Add diagnostic, programming, alignment, and road-test charges where applicable.
A simple estimate should separate the transmission from the installation work. That makes it easier to see whether a warranty covers only the part while leaving removal and refitting on the buyer. It also gives you a more realistic comparison with a rebuilt or remanufactured assembly.
Budgeting for hidden compatibility or repair costs
Set aside money for mismatched connectors, damaged wiring, a failed mount, a contaminated cooler, or a transfer-case issue. Shipping damage and return freight can also affect the final figure. If the original failure spread metal through the system, cleaning the related components may be necessary before the replacement is fitted.
Write down the assumptions behind the estimate. If the seller cannot confirm whether a converter or harness is included, list it as a possible additional cost rather than quietly assuming it will be there. This small habit makes the budget more honest.
Deciding when a higher-priced unit offers better value
A higher-priced transmission can offer better value when it has stronger documentation, a useful warranty, verified compatibility, and fewer missing parts. Those benefits reduce the chance of paying for labor twice. Price still matters, but it should be judged against the evidence attached to the unit.
The best choice is often the one with the clearest path from purchase to installation. If two units cost nearly the same after shipping and preparation, prefer the one with better records and a more workable remedy. A small premium can be worthwhile when it buys less uncertainty.
Preparing for installation
Preparation begins before the old transmission is removed. Diagnose the original failure, inspect the surrounding drivetrain, and confirm the replacement’s contents. A clean installation area and a written checklist can prevent rushed decisions once the vehicle is on the lift.
Inspecting related components before fitting the replacement
Check the engine rear seal, flexplate, mounts, axles, driveshaft, shifter linkage, wiring, sensors, and transfer-case interface. Look for damage that may have contributed to the original failure or that could damage the replacement. Inspect the radiator and cooler circuit as well, especially if the old unit overheated.
This is also the time to verify that the converter seats fully in the pump and that the bellhousing and dowel locations align correctly. Never use bellhousing bolts to pull a misaligned transmission into place. That can damage the case or pump before the vehicle moves.
Flushing or replacing the transmission cooler and lines
Old fluid and debris can remain in the cooler and lines after a transmission failure. Follow the vehicle or transmission manufacturer’s service procedure for flushing, replacing, or bypassing the cooler. If the cooler cannot be cleaned reliably, replacement may be safer than sending contamination into the replacement unit.
Record what was done for the warranty file. A new transmission connected to a dirty cooler circuit may fail for reasons unrelated to the replacement’s original condition. Preparation is therefore part of protecting the purchase, not an optional cosmetic step.
Replacing seals, filters, fluid, and other wear items
Replace accessible seals, the filter, pan gasket, and fluid with the specified products before or during installation. Inspect the converter seal and axle seals carefully, since a small leak can quickly become a major fluid-loss problem. Use the correct fluid level and filling method for the vehicle.
Do not guess the capacity from a generic chart. Some transmissions require a temperature-based level check, a running engine, or a particular gear-selection sequence. Keep the fluid container and parts receipts if the warranty requires proof of proper installation.
Programming and adapting electronically controlled transmissions
Electronically controlled transmissions may need software programming, module setup, sensor checks, or adaptive relearning after installation. The exact procedure depends on the vehicle and control system. A vehicle that starts and moves is not necessarily ready for normal service if its module still contains unsuitable learned values.
Use appropriate diagnostic equipment and follow the manufacturer’s sequence. Record fault codes before clearing them, then complete the relearn or adaptation process as required. If the shop cannot support that work, include the cost of a specialist visit in the original budget.
Testing and protecting the replacement transmission
Testing should be methodical rather than a quick drive around the block. Establish the correct fluid level, inspect for leaks, and allow the vehicle to reach operating temperature. Then evaluate engagement, shifting, noise, and electronic data under controlled conditions.
Performing pre-installation checks and fluid-level setup
Before installation, compare the replacement with the original: case shape, code, connectors, mounts, cooler ports, and output arrangement. Confirm that the converter is correct and fully seated. After installation, fill with the specified fluid and use the prescribed temperature and gear-position procedure to set the level.
Look underneath before the first road test. A small leak at a cooler line or seal should be corrected immediately, not monitored until the fluid is low. Keep the initial check slow and deliberate so a problem is easier to isolate.
Checking shift quality, leaks, noise, and operating temperature
With the vehicle warm, check reverse and forward engagement for delay, harshness, slipping, or unusual noise. Watch for flare between gears, shudder under light load, vibration, and fluid leaks around the pan, axle seals, converter area, and cooler connections. Operating temperature should remain within the vehicle’s normal range.
Use a scan tool where available to observe transmission temperature and active or pending fault codes. A smooth cold shift does not prove that the unit behaves correctly when hot. Test it under the conditions that matter for the vehicle, including moderate acceleration and steady cruising.
Completing a road test and electronic diagnostic scan
The road test should progress from low-speed operation to normal traffic, with attention to every gear and operating mode. Check manual selections, overdrive, lockup, and four-wheel-drive functions when those features apply. Stop and reassess if a warning light appears, the transmission slips, or fluid temperature rises abnormally.
After the drive, scan for stored and pending codes and review any adaptation data available to the technician. Save the results with the installation invoice. This record can help distinguish an installation issue from a part failure if a warranty claim is needed.
A clear video demonstration can supplement written instructions, but it cannot replace the vehicle-specific service procedure. Use it to understand the sequence, then confirm specifications in the repair information for the exact application.
Following the warranty requirements and break-in guidance
Follow the seller’s installation requirements exactly, including cooler service, fluid type, filter replacement, programming, and documentation. Observe any break-in guidance and return promptly for a recheck of fluid level, leaks, and fault codes. Avoid towing or severe use until the unit has completed its initial checks unless the service instructions say otherwise.
Keep all receipts, diagnostic scans, photographs, and correspondence. If a problem develops, stop driving when continued use could worsen the damage and contact the seller promptly. Good records protect both the warranty and your ability to understand what happened.
Conclusion
Buying second hand automatic transmissions is a practical option when the vehicle match, donor history, inspection evidence, warranty, and installation plan all make sense together. Take the time to verify the code and VIN, price the complete repair, prepare the surrounding system, and test the replacement carefully. That process cannot remove every risk, but it can turn a vague bargain into a reasoned repair decision.
Frequently Asked Questions
Is a second hand automatic transmission worth buying?
It can be worthwhile when the vehicle is otherwise sound, the unit is correctly matched, the condition is documented, and the warranty is useful. Compare the complete installed cost with rebuilt and remanufactured alternatives.
How do I know which transmission fits my vehicle?
Use the vehicle identification number, transmission code, exact engine and drivetrain details, and the original unit’s physical features. Confirm whether the torque converter, transfer case parts, and electronic controls are compatible.
What should used transmission fluid look like?
Fluid condition varies by design and service history, but burnt odor, heavy debris, sludge, or evidence of water contamination should prompt caution. Fluid appearance alone cannot establish the internal condition of a transmission.
Should I replace the torque converter with the transmission?
Often, the converter should be inspected carefully and replaced or matched according to the vehicle and transmission requirements. Confirm the bolt pattern, pilot, splines, and seating before installation.
Do transmission cooler lines need to be flushed?
They should be inspected and flushed or replaced according to the manufacturer’s procedure, particularly after an internal failure. Debris left in the cooler circuit can damage a replacement unit.
Does an electronically controlled transmission need programming?
Some applications require programming, module setup, or adaptive relearning, while others may not. The correct process depends on the vehicle, transmission, and control system.
What records should I keep after installation?
Keep the invoice, warranty, parts and fluid receipts, compatibility messages, installation notes, diagnostic scans, and road-test results. These records can support troubleshooting and a warranty claim.