
Key Takeaways
A transmission solenoid replacement can restore normal shifting, but the symptoms should be diagnosed before parts are ordered. The repair may be straightforward on some vehicles and surprisingly involved on others.
- Solenoids regulate transmission-fluid flow and hydraulic pressure.
- Harsh shifts, delayed engagement, limp mode, and warning lights deserve attention.
- Diagnostic codes do not prove that a solenoid itself has failed.
- Correct fluid, seals, wiring checks, and service procedures matter.
- Final cost depends on access, parts, labor, and any additional transmission damage.
Understanding the transmission solenoid and its role
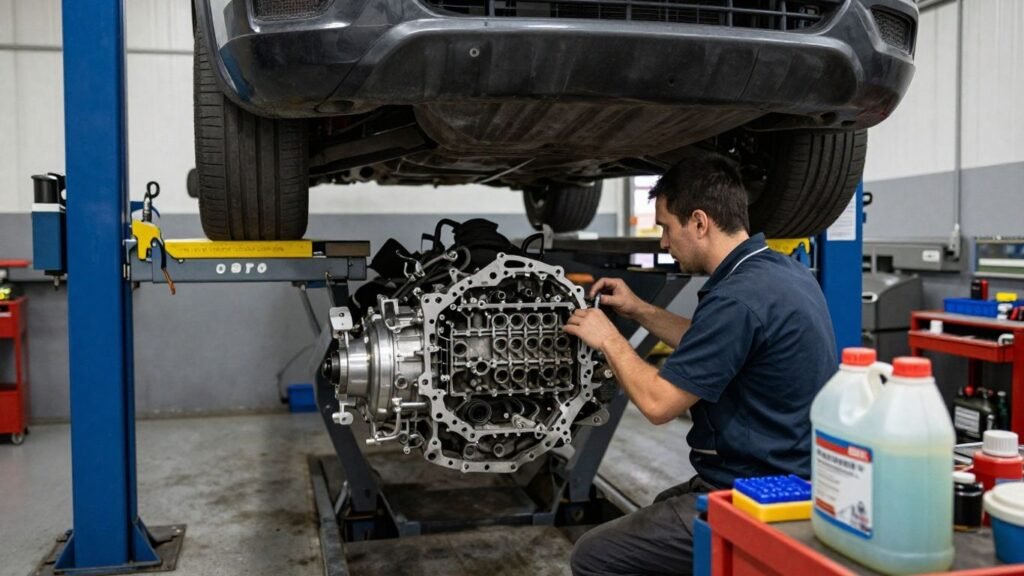
A transmission solenoid is an electrically controlled valve inside the transmission valve body. It responds to commands from the transmission control system and directs fluid through specific hydraulic passages. That fluid pressure helps the transmission select and hold the intended ratio. The part is small, but its timing affects how the vehicle feels every time it shifts.
How shift solenoids control transmission fluid flow
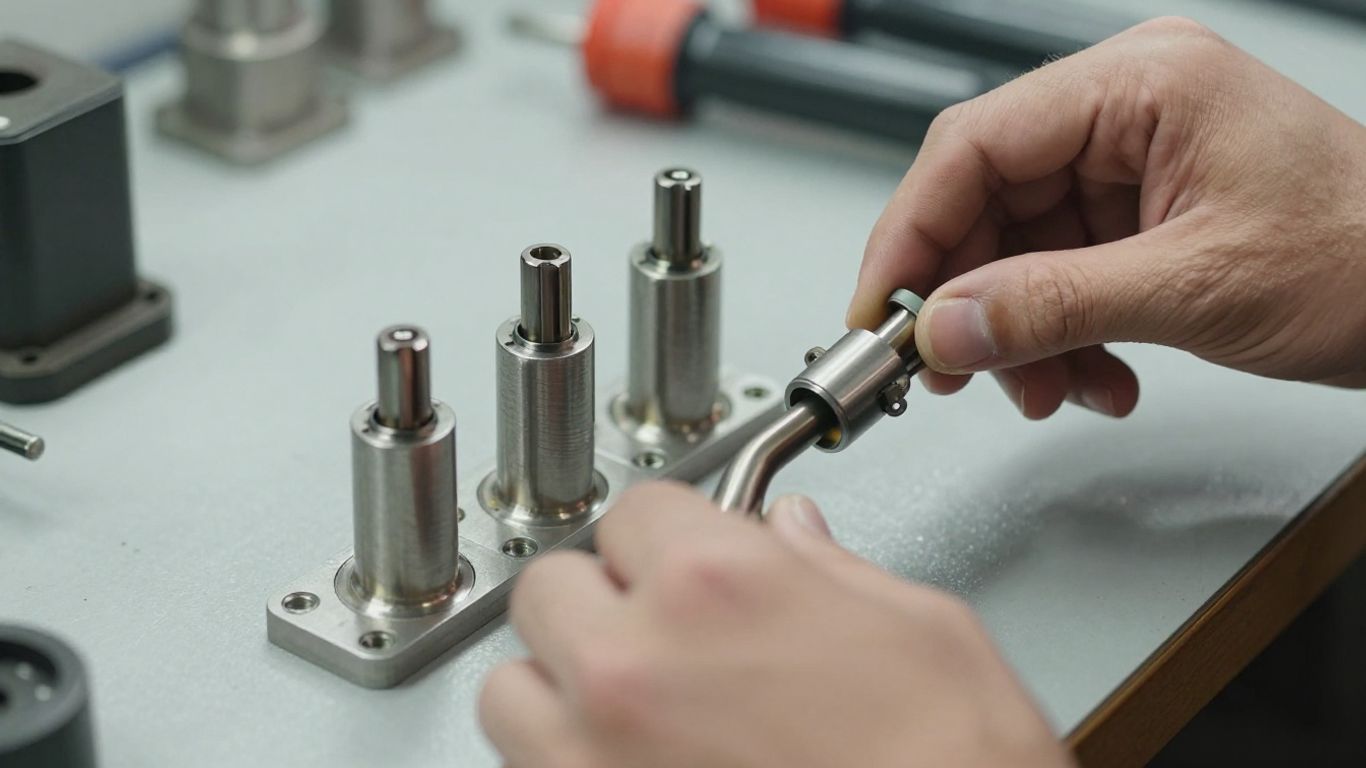
A shift solenoid opens or closes a fluid passage when it receives an electrical signal. The resulting change in hydraulic pressure helps apply a clutch or brake inside the transmission. This is why a solenoid is better understood as part of a larger hydraulic and electronic system, rather than as an isolated gear-changing switch.
The transmission shift solenoid guide offers a useful primer on this electrical-to-hydraulic relationship. In practice, the control module considers inputs such as speed, throttle position, load, and temperature before commanding a shift.
The difference between individual solenoids and solenoid packs
Some transmissions use separate, replaceable solenoids, while others group several valves and their wiring into a solenoid pack or assembly. A single failed valve may be replaceable on its own, but the manufacturer may specify replacement of the complete assembly. The service manual and transmission identification are more reliable than appearance alone.
A pack can also make diagnosis less obvious. One connector, shared ground, or internal circuit may serve multiple valves, so a fault code should be interpreted alongside resistance tests and live-data readings.
How automatic and continuously variable transmissions differ
Traditional automatic transmissions use planetary gearsets and shift between defined ratios. Their solenoids commonly control clutch application, gear selection, and line pressure. A continuously variable transmission uses a different arrangement, with pulleys and a belt or chain changing the ratio continuously, so its solenoid functions and diagnostic procedures can differ substantially.
The same symptom does not therefore mean the same repair on every vehicle. A replacement part listed for a conventional automatic may be entirely wrong for a CVT, even when the vehicle has similar driving complaints.
Why solenoid problems affect shifting performance
A sticking valve, restricted passage, weak electrical coil, or damaged connector can alter fluid pressure at the wrong moment. The transmission may then apply a clutch too quickly, too slowly, or not firmly enough. Accurate diagnosis comes first because similar behavior can also result from low fluid, worn clutches, a valve-body problem, or a control-sensor fault.
Recognizing symptoms of a failing transmission solenoid
Solenoid trouble often appears as a change in shift behavior rather than a dramatic mechanical noise. Drivers may notice it during cold starts, gentle acceleration, hill climbs, or stop-and-go traffic. Recording when the symptom occurs can give a technician more useful information than simply reporting that the transmission “feels wrong.”
Delayed, harsh, or inconsistent gear changes
A delay between selecting Drive and feeling engagement may point to a pressure or control issue. Harsh upshifts, abrupt downshifts, or shifts that happen at inconsistent speeds are also common complaints. A single rough event is not conclusive, but a repeated pattern deserves a proper inspection.
Getting stuck in one gear or limp mode
The control system may limit the transmission to one or two gears when it detects a fault that could cause further damage. This protective strategy is often called limp mode. Reduced speed and acceleration make the vehicle less useful, but continuing to drive it hard can make the underlying problem more expensive.
Warning lights and transmission fault codes
An illuminated check-engine or transmission warning light may accompany a solenoid issue. Codes can identify a circuit, performance condition, or shift-related error, but they do not automatically identify the failed physical component. The transmission solenoid symptoms guide is a useful general reference for connecting these codes with driving symptoms.
Slipping, poor acceleration, and reduced fuel economy
If a clutch does not apply with the expected pressure, engine speed may rise without a matching increase in road speed. That can feel like slipping, weak acceleration, or a delayed response when pulling away. Extra fuel use may follow because the engine spends more time in an inefficient operating range, although fuel economy changes have many possible causes.
Why symptoms can resemble other transmission problems
Worn fluid, a clogged filter, damaged wiring, a failing speed sensor, and internal clutch wear can all produce overlapping symptoms. A transmission that shifts badly is not necessarily asking for a solenoid. Avoiding guesswork is especially valuable when the solenoid is buried inside the transmission and access requires substantial labor.
Diagnosing the problem before replacement
Diagnosis should establish whether the fault is electrical, hydraulic, mechanical, or a combination of these. A scan tool is a starting point, not a substitute for inspection. Before approving a transmission solenoid replacement, the technician should compare the stored code with fluid condition, wiring integrity, resistance readings, and actual shift behavior.
Reading diagnostic trouble codes with a scan tool
A capable scan tool can retrieve transmission and powertrain codes, view freeze-frame information, and sometimes display commanded solenoid states. The code may indicate an open circuit, short, incorrect performance, or an unexpected gear ratio. Clearing it before recording the details can erase clues about the conditions that triggered it.
Live data can also reveal whether the control module is requesting a shift and whether the transmission responds. That comparison helps separate a command problem from a hydraulic response problem.
Checking transmission fluid level, condition, and leaks
Fluid must be checked using the vehicle maker’s procedure, which may specify a temperature range, running engine, or particular gear position. Low fluid can reduce hydraulic pressure, while contaminated or overheated fluid can interfere with valve operation. Leaks around the pan, cooler lines, axle seals, or electrical connector should be addressed rather than treated as a separate afterthought.
Fluid color alone is not a complete diagnosis. Burnt odor, metal debris, and friction material in the pan may suggest internal wear that a solenoid replacement will not correct.
Testing wiring, connectors, and electrical resistance
A technician can inspect the harness for chafing, corrosion, loose pins, and fluid intrusion. Resistance testing at the solenoid and connector can reveal an open or shorted coil, but the correct specification varies by transmission and temperature. Voltage, ground quality, and continuity should be tested according to the wiring diagram instead of inferred from a generic reading.
A compact record of the diagnostic evidence can keep the repair focused:
| Check | What it may reveal | Why it matters |
|---|---|---|
| Stored code and freeze frame | Operating conditions at failure | Keeps the test tied to the original event |
| Fluid level and condition | Low pressure or contamination | May point to a broader service issue |
| Connector and harness inspection | Open, short, or corrosion | Prevents replacing a good solenoid |
| Resistance and command tests | Coil or control response | Helps confirm an electrical fault |
The table is a guide to the order of thinking, not a universal pass-or-fail chart. Exact values and test points must come from the service information for that transmission.
Distinguishing a bad solenoid from valve body or sensor faults
A solenoid may be electrically sound but mechanically restricted by debris or a worn valve body bore. Conversely, a speed sensor can report incorrect information and cause inappropriate shifting while the solenoid operates normally. Comparing commanded operation with hydraulic pressure and sensor data is often necessary when the first test does not provide a clear answer.
When professional transmission diagnostics are necessary
Professional help is sensible when the transmission pan must be removed, the valve body is difficult to access, or the vehicle has a CVT or electronically complex transmission. It is also warranted when the vehicle is slipping badly, has metal in the fluid, or enters limp mode repeatedly. A shop with the correct scan equipment and service information can prevent an expensive parts-swapping exercise.
Preparing for transmission solenoid replacement
Preparation is where many avoidable repair problems begin. The part must match the exact transmission, and the vehicle must be supported securely before fluid is drained. Confirming the procedure in advance also helps reveal whether the job requires a filter, pan gasket, one-time-use fasteners, programming, or a post-repair relearn.
Choosing the correct solenoid for the transmission model
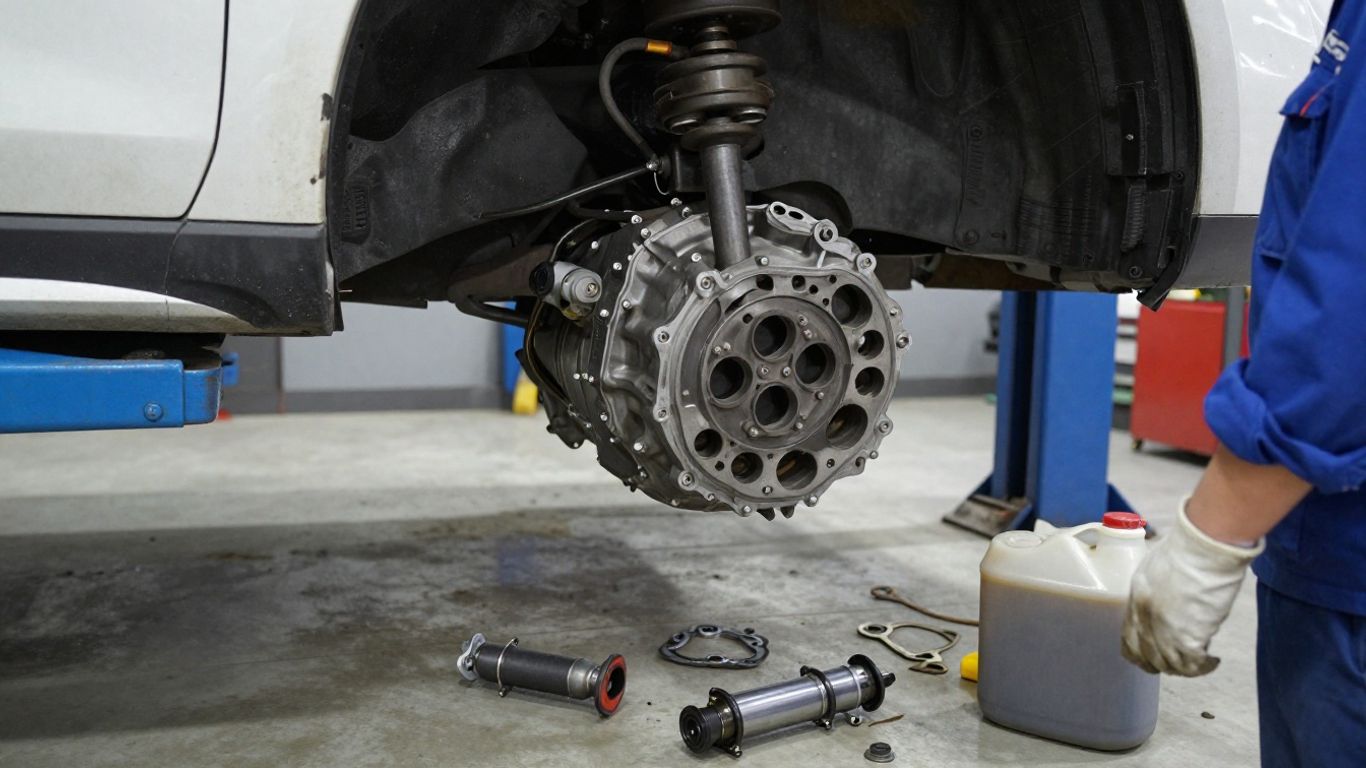
Use the vehicle identification number, transmission code, build date, and the original part number when possible. Similar-looking solenoids can have different resistance, flow characteristics, connectors, or calibration. A parts catalog alone may not show midyear changes, so the service manual or dealer parts information can be valuable.
Reviewing the service manual and replacement requirements
The manual should establish fluid type, tightening sequence, torque values, fluid capacity, electrical test specifications, and any required software procedure. Some valve bodies contain small check balls, springs, or separator plates that must return to precise locations. Photographing the assembly before disassembly can help, but it does not replace the specified procedure.
Gathering tools, parts, fluid, and replacement seals
Set out the correct sockets, torque wrench, drain pan, jack stands or a lift, scan tool, clean lint-free cloths, and suitable measuring equipment. Have the replacement solenoid or pack, filter, gasket, seals, and the manufacturer-specified fluid ready before opening the transmission. Keeping dust and loose fibers away from the valve body is just as important as having every tool nearby.
Planning for fluid disposal and workplace safety
Transmission fluid is slippery and should be collected in a sealed container rather than allowed onto the floor or ground. Wear eye protection and gloves, allow hot components to cool, and never rely on a jack alone to support the vehicle. A clean, level work area reduces the chance of mixing parts or allowing debris into an open transmission.
Deciding between a single-solenoid and solenoid-pack replacement
The choice depends on the diagnosis, manufacturer guidance, and the condition of the surrounding assembly. Replacing one confirmed failed solenoid may cost less, while a complete pack can make sense when several valves are worn or the assembly is serviced as one unit. The cheapest part is not always the lowest-cost repair if repeated removal and fluid service will be needed.
How the transmission solenoid replacement process works
The exact sequence varies, but most accessible repairs involve opening the transmission pan and working around the valve body. Cleanliness, labeling, and controlled tightening matter throughout the job. If the design requires major transmission removal or intricate valve-body disassembly, the work may be better suited to a qualified repair facility.
Disconnecting the battery and safely raising the vehicle
The battery is disconnected when the service procedure calls for it, especially before handling electrical connectors. The vehicle is then raised on a level surface and supported at approved lift points. Before working underneath, the technician confirms that the vehicle is stable and that there is enough room to lower the pan without contacting nearby components.
Removing the transmission pan and draining the fluid
The pan fasteners are loosened in a controlled pattern, since fluid may begin flowing before the pan is fully free. The old fluid is captured, and the pan and magnet are inspected for debris. The filter and gasket are removed if the procedure calls for replacement, with care taken not to damage the sealing surface.
Accessing and removing the faulty solenoid
After the pan is off, the electrical connector and retaining hardware are identified before removal. The valve body may need to be lowered, or the solenoid may be accessible directly from the underside. Parts should be laid out in order, and passages should remain covered from dirt while the faulty component is removed.
Installing the replacement and securing electrical connections
The new solenoid is installed with its seal or O-ring properly seated and its retainer tightened to specification. Connectors should click fully into place without being forced or stretched. A pinched harness or displaced seal can recreate the original fault immediately, so the final visual check is worth taking a few minutes.
A simple sequence helps keep the work organized:
- Match the replacement part and seal to the transmission code.
- Keep removed fasteners and valve-body pieces in order.
- Inspect every connector before reconnecting it.
- Torque retainers and pan fasteners to the specified values.
These steps do not replace the service manual, but they reduce common assembly errors. The repair is only as reliable as the cleanliness and care used during installation.
Reassembling the transmission and refilling the fluid
The pan, filter, gasket, valve body, and connectors are reinstalled in the specified order. Fresh fluid is added using the manufacturer’s level-check procedure, which may require a particular temperature and engine state. Overfilling can be as problematic as underfilling, so the level should be confirmed rather than estimated from the amount drained.
A short instructional video can make the general layout easier to visualize, but the vehicle-specific manual remains the authority for torque values, fluid type, and calibration.
Transmission solenoid replacement cost considerations
The price of a transmission solenoid replacement is driven less by the solenoid’s size than by access, diagnostic time, and what else is found during the repair. A simple external component may require limited labor, while an internal pack can require pan and valve-body removal. Estimates should clearly separate diagnosis, parts, labor, fluid, and related service.
Typical parts and labor cost factors
Broad online estimates often place a complete solenoid-kit repair around $400 to $1,500 or more, but that range is not a promise for a particular vehicle. The solenoid replacement cost guide breaks the estimate into parts, labor, and diagnostics. Local labor rates, transmission design, part quality, and whether the repair includes a pack all affect the final invoice.
How vehicle design affects repair difficulty
Some vehicles provide reasonable access from underneath, while others require the technician to work around crossmembers, exhaust components, or limited clearance. A CVT or newer multi-speed transmission may also require additional diagnostic and calibration steps. Labor time tends to rise when the pan, valve body, or transmission itself is difficult to reach.
Comparing dealership, independent shop, and DIY expenses
A dealership may have convenient access to factory procedures and programming equipment, while an independent transmission shop may offer a different labor rate or specialized experience. DIY work can reduce labor expense, but the owner still pays for fluid, seals, tools, safe support equipment, and diagnostic capability. A mistake that contaminates or damages the valve body can erase the apparent savings.
Additional costs for fluid, filters, seals, and diagnostics
A quote may include a filter, pan gasket, O-rings, fresh fluid, cleaning materials, and a scan or road-test charge. Ask whether code clearing, adaptive relearn, and a follow-up inspection are included. If the pan contains substantial metal or friction material, further testing may be recommended before the solenoid is replaced.
When replacement may not be cost-effective
Replacement deserves a closer cost comparison when the transmission has severe internal wear, repeated slipping, or extensive contamination. The vehicle’s age, value, remaining service life, and the likelihood of additional repairs should be considered. A low-priced solenoid cannot restore worn clutches or damaged gears.
Testing and maintaining the transmission after replacement
The repair is not finished when the last bolt is tightened. The control module may need to relearn shift behavior, and the fluid level must be checked under the correct conditions. A careful post-repair test can catch a leak, loose connector, or incorrect fluid level before it becomes a larger failure.
Clearing codes and completing the required relearn procedure
Codes should be cleared only after diagnostic information has been recorded and the repair is complete. Some vehicles require an adaptive reset, shift relearn, or a specific drive cycle. Skipping that step can leave the transmission shifting oddly even when the mechanical repair was successful.
Checking for leaks and confirming proper fluid levels
With the vehicle safely supported, the pan, drain plug, cooler lines, and electrical connector area should be inspected for seepage. The final level is checked at the specified temperature and gear position. Fluid should not be judged by color alone, and any leak found after the first warm-up should be corrected promptly.
Road-testing shift quality across operating conditions
The road test should begin gently, allowing the transmission to reach operating temperature. It should then include light acceleration, moderate throttle, stops, reversals, and—where safe—steady-speed driving. The technician should watch for delayed engagement, flare, harshness, unexpected downshifts, or a return to limp mode.
Monitoring for recurring symptoms or warning lights
Keep the repair paperwork and note when the vehicle is driven, how it shifts, and whether any warning light returns. A symptom that appears only cold, hot, uphill, or after extended driving can narrow the next diagnostic step. Returning to the repair shop early is usually better than waiting for a complete loss of drive.
Maintenance habits that help protect replacement solenoids
Use the specified fluid and service interval, repair leaks quickly, and avoid towing or loading beyond the vehicle’s rating. Regular inspections can catch damaged wiring and low fluid before they affect hydraulic control. Good maintenance cannot prevent every electronic failure, but it can reduce heat, contamination, and unnecessary stress inside the transmission.
Conclusion
Transmission solenoid replacement is most successful when it follows a confirmed diagnosis rather than a guess based on one symptom or code. Understanding the transmission design, using the correct parts and fluid, and completing the post-repair checks gives the vehicle the best chance of returning to consistent shifting. When access or diagnosis is beyond your tools, a qualified technician is usually the safer investment.
Frequently Asked Questions
What does a transmission solenoid do?
It uses electrical commands to control transmission-fluid flow through passages in the valve body, helping regulate hydraulic pressure and shifting.
Can a vehicle drive with a bad transmission solenoid?
It may continue to move, but it could shift harshly, slip, or enter limp mode. Continued driving can worsen related transmission damage, so prompt diagnosis is advisable.
Does a fault code prove the solenoid needs replacement?
No. A code may point to a circuit or performance problem caused by wiring, fluid pressure, a sensor, the valve body, or internal wear.
How long does solenoid replacement take?
The time varies from a relatively short repair to several hours or more. Access, transmission design, and whether a complete pack must be removed are major factors.
Is transmission solenoid replacement a DIY repair?
It can be manageable on some vehicles for an experienced home mechanic with safe lifting equipment and correct service information. Complex valve-body work is better handled professionally.
Should the transmission fluid be changed during replacement?
Fluid is commonly drained during access, and the filter or gasket may also be replaced. The exact service depends on the transmission and the fluid’s condition.
What should happen after the replacement?
The vehicle should receive the correct fluid-level check, code clearing, any required relearn procedure, a leak inspection, and a road test across normal operating conditions.